FeedbackChimp allows users to create custom roles tailored to their specific team needs. This guide will walk you through the step-by-step process of creating custom roles and managing the permissions associated with each role.
Note: Creating custom roles is an exclusive feature only available with the Remove Branding add-on.
How to Create Custom Roles in FeedbackChimp
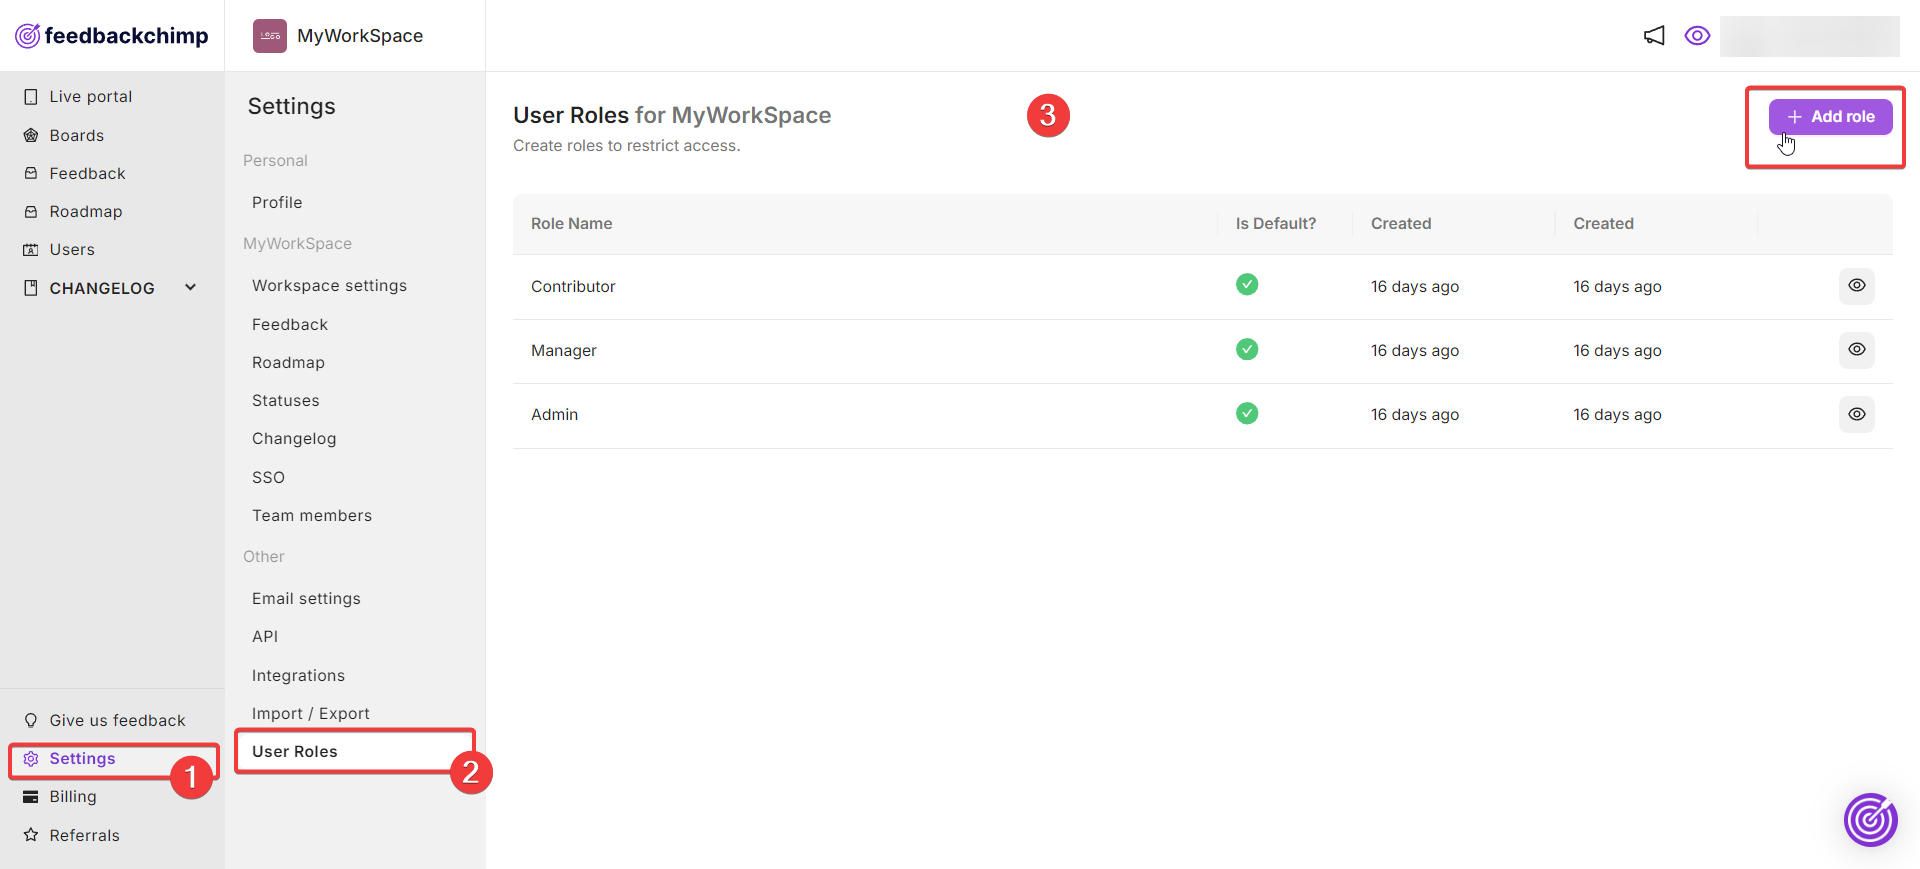
- From your dashboard, navigate to Settings and click on User Roles.
- Here, you will see a list of default roles (Contributor, Manager, Admin) as well as any custom roles that have been created.
- To create a new custom role, click on the + Add Role button located on the top bar.
- You’ll be directed to a new page where you can enter a name for the role. This will help you and your team easily identify the purpose of the custom role.
FeedbackChimp offers detailed control over the permissions for each role. You can choose to grant access to all permissions for specific categories, or you can enable specific permissions based on your needs.
Below is a breakdown of the permissions categories and what you can control for each.
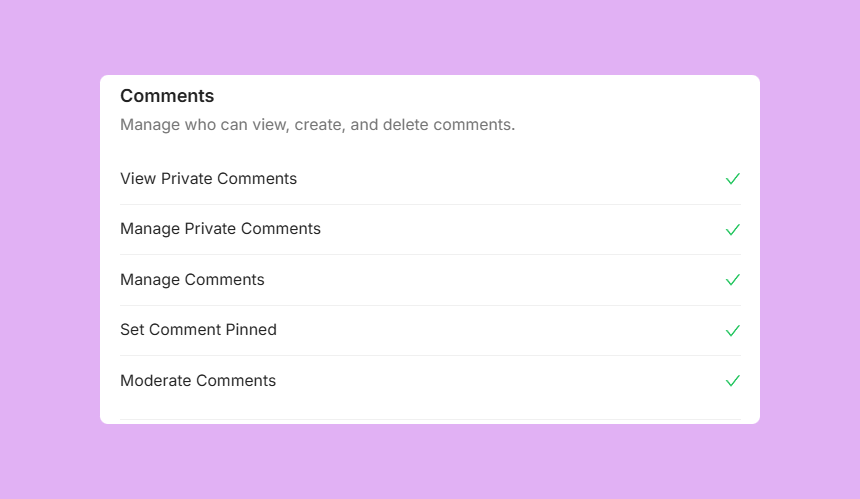
Comments:
Manage who can:
- View both public and private comments.
- Pin comments to the top.
- Moderate comments (approve or reject before they are published).
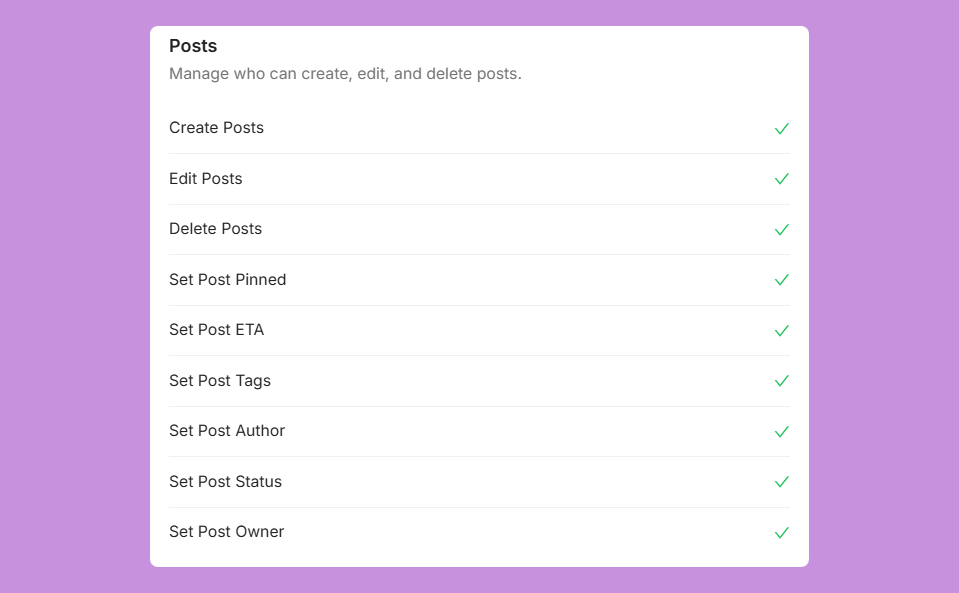
Posts:
Control who can:
- Create, edit, and delete posts.
- Pin posts to the top.
- Set ETA (Estimated Time of Arrival) for a feature or update.
- Assign Tags, Author, Status, and Owner to posts.
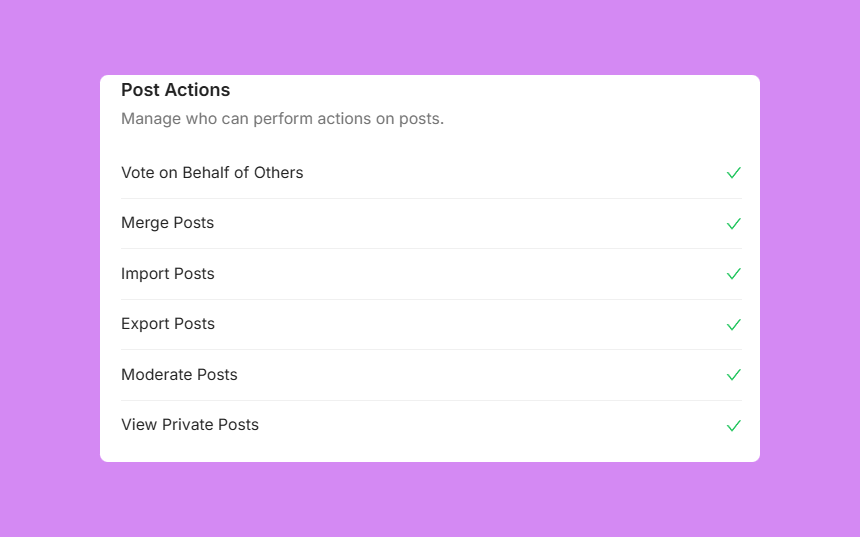
Post Actions:
Control who can:
- Vote on behalf of other users.
- Merge duplicate posts.
- Import and export posts.
- Moderate posts.
- View private posts that are not visible to the public.
Users:
- Control who can view and manage user profiles and permissions within the workspace.
Tags:
- Define who can create, edit, and manage post tags.
Changelogs:
Control who can:
- Manage changelogs.
- Configure changelog privacy settings.
Boards:
Manage who can create, edit, and delete:
- Feedback boards.
- Categories for posts.
- Custom fields for boards.
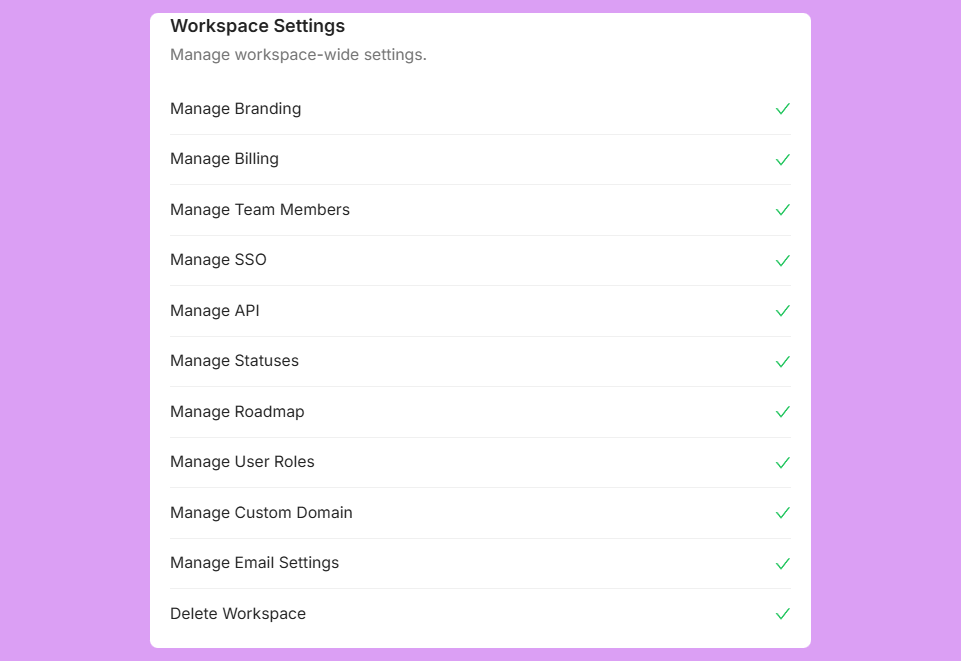
Workspace Settings:
Define who has access to manage workspace-wide settings, including:
- Branding.
- Billing.
- Managing team members.
- Single Sign-On (SSO).
- API settings.
- Statuses, roadmaps, and user roles.
- Custom domains.
- Email settings.
- Deleting entire workspaces.
Integrations:
- Control who can add, configure, and use third-party integrations with FeedbackChimp.
Additional Notes
You can toggle the Select All option for any of the above categories to allow all permissions, or you can enable only specific permissions. This allows for a high level of customization to ensure that each user role is equipped with the exact permissions they need.
After creating the role, you can assign it to any team member by navigating to Settings--> Team Members. Learn how to add team members here.
For additional assistance or inquiries, please reach out to Customer Support.
