
With FeedbackChimp, you can easily create and share changelogs that keep communication transparent and organized.
How to Create Changelogs in FeedbackChimp
Creating a changelog in FeedbackChimp is a straightforward process. You can quickly create a new entry, categorize it using labels, and even link feedback posts to showcase how user input drives product updates. Follow these steps to get started:
Step 1: Create a New Changelog Entry
Start by creating a new changelog entry from your FeedbackChimp dashboard.
- Navigate to the Changelog section.
- Click on Create New Changelog Entry.
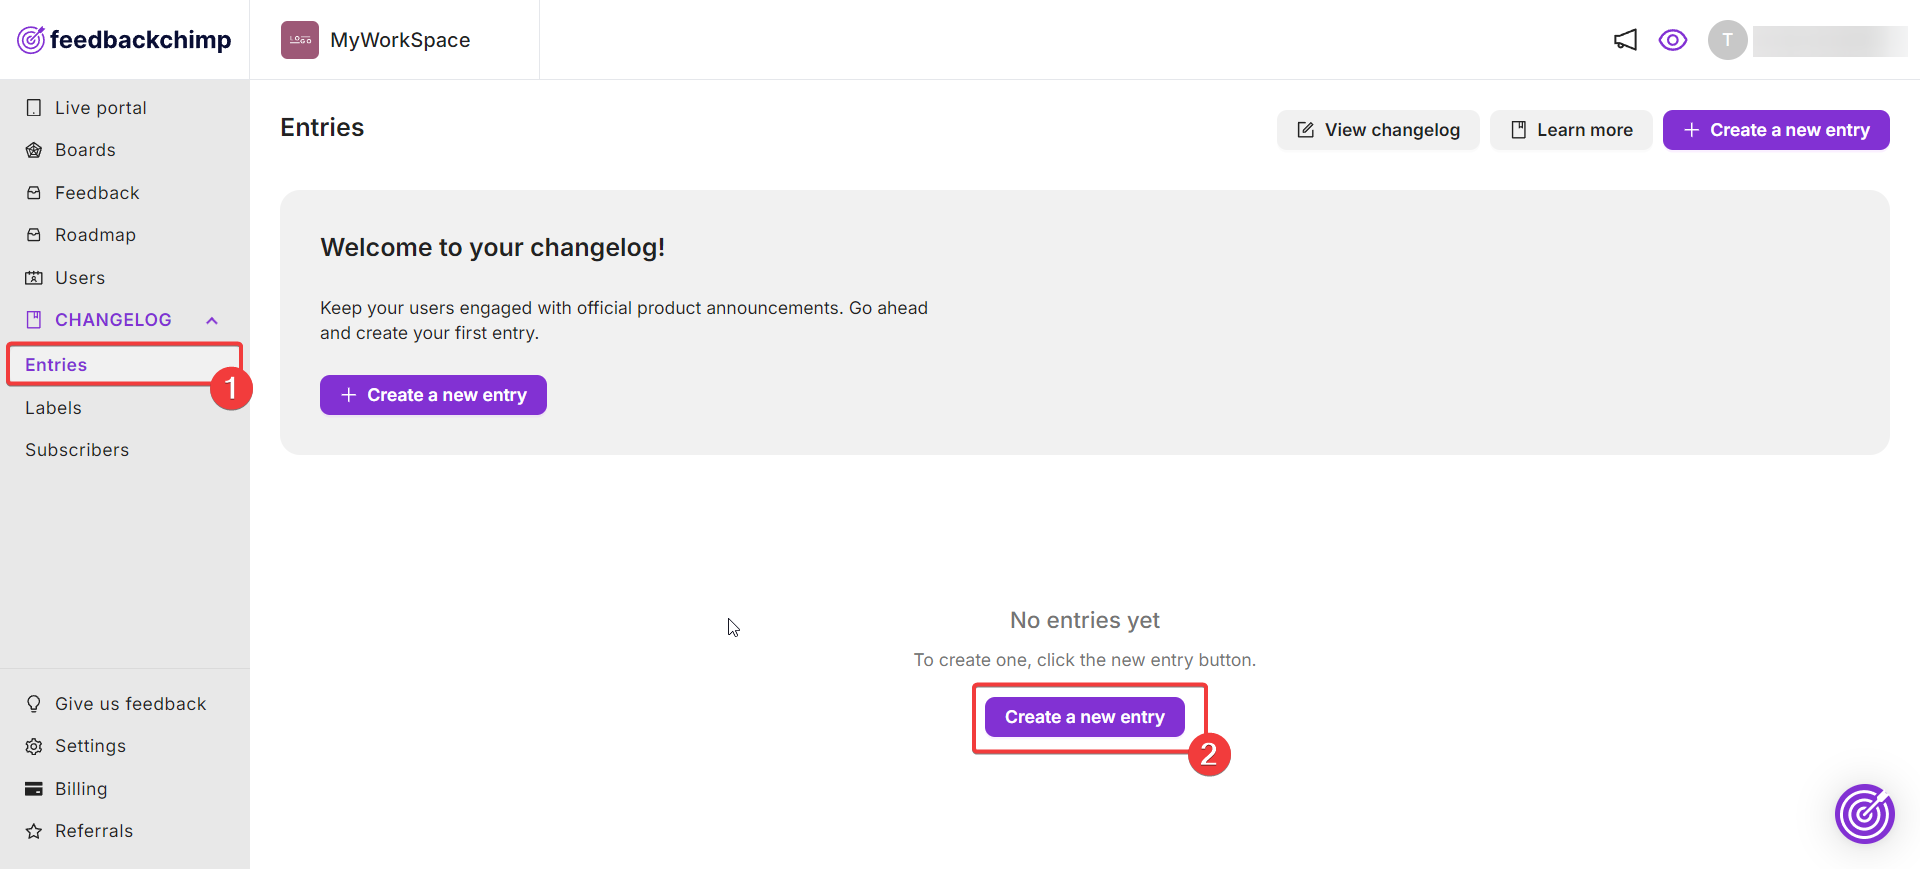
From here, you can add the necessary details about your update, including the title, description, and relevant release notes as shown below.
Step 2: Create a Label for Your Changelog
Labels help you categorize your changelog entries for better organization.
You can create a label by navigating to Changelog→ Labels from your dashboard as shown below.
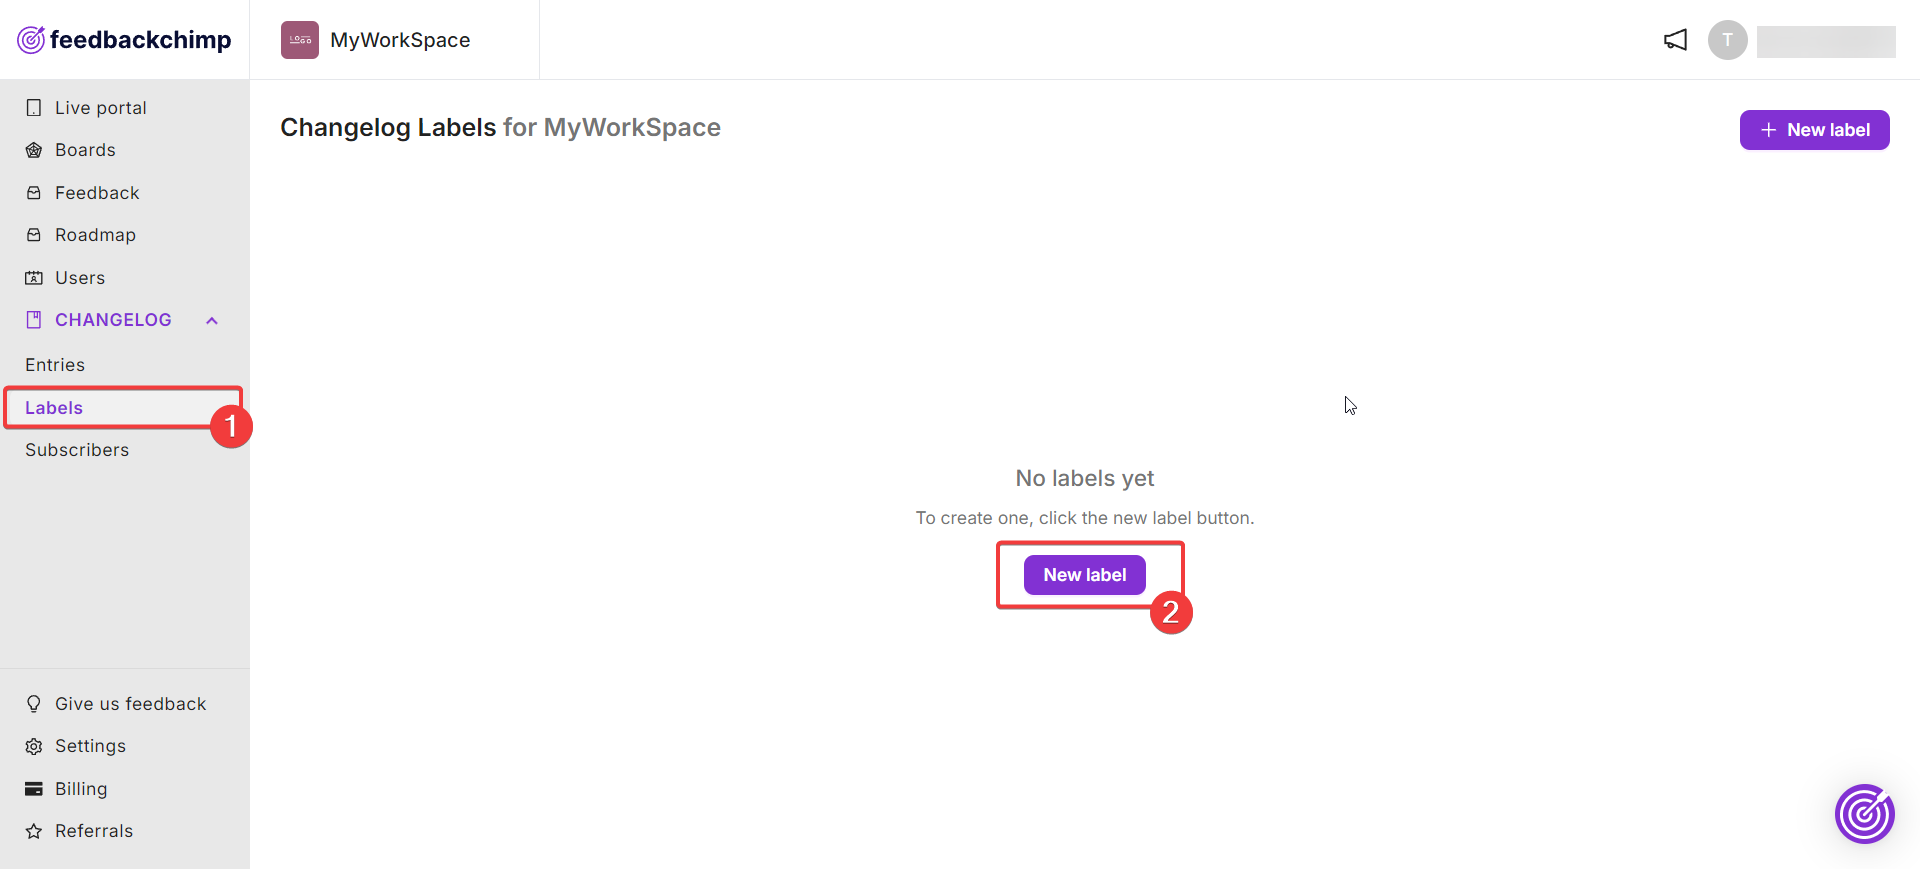
A popup will appear where you can enter the name of your label as shown below. You can create as many labels as you need and manage them later.

Note: We recommend creating a label before creating a changelog entry. If you created your changelog entry first, make sure to save the entry by clicking ‘Save as draft’ before going to your dashboard to create a label.
Once a label has been created, you can update your changelog to add that label as shown below.
Step 3: [Optional]: Link a Post to Your Changelog
If you wish to highlight user feedback that prompted this update, you can link a post directly to the changelog.
- Click on the ‘Linked posts’ option on your left-hand sidebar.
- Select the relevant post from the list of options shown in the dropdown.
This step is optional but helps in showing users how their feedback contributes to the product’s evolution. Learn how to create posts in FeedbackChimp here.
Step 4: Share Your Changelog Update
Once the changelog entry is ready, you can publish it immediately or schedule it for a future date.
- To schedule your changelog, select Schedule for later in the left-hand sidebar
- To notify your subscribers about the new changelog, enable the ‘Notify subscribers’ option.
- Click on the ‘Save and Schedule’ button when you are done.

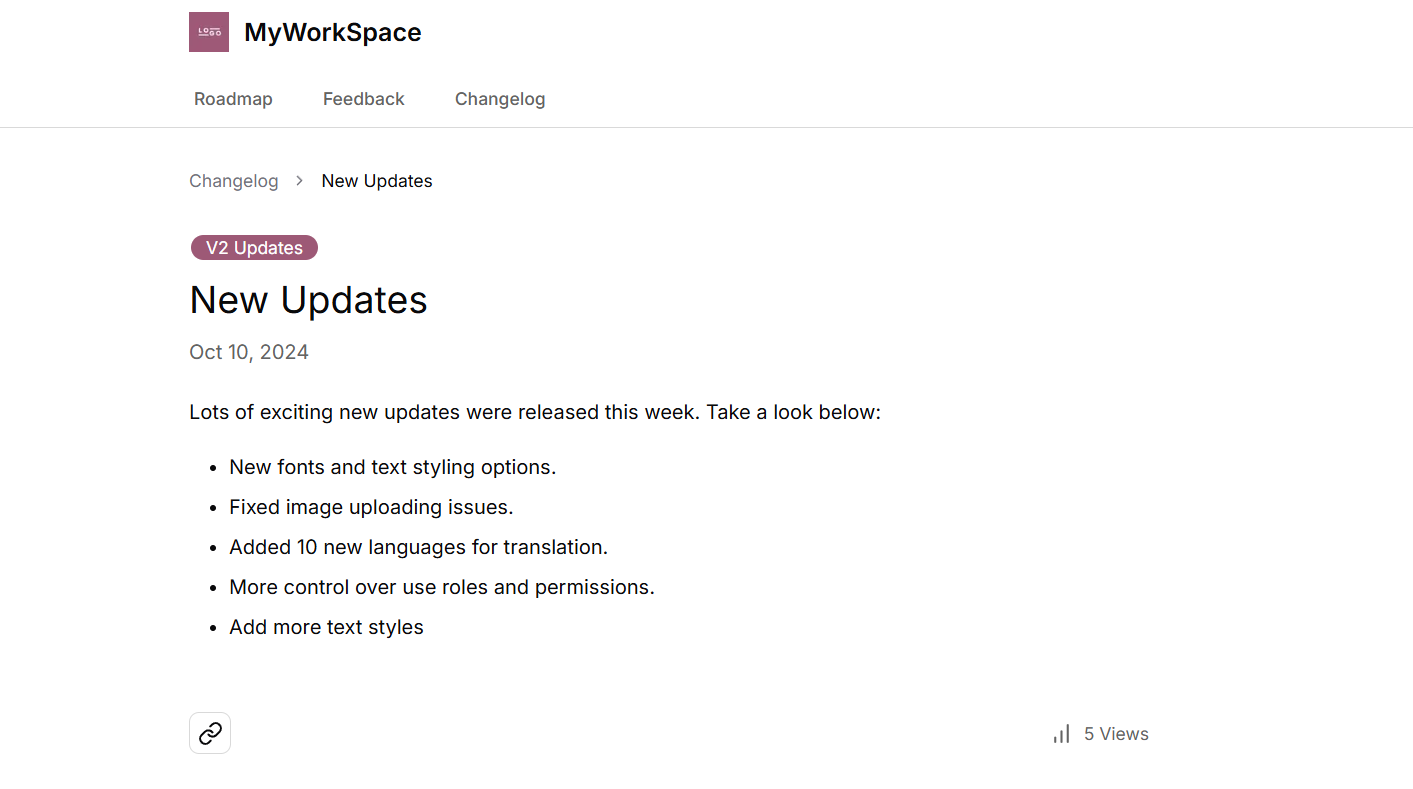
When you are done, your changelog entry will become available for those you want to share it with. This is what the final outcome will look like.
Creating changelogs in FeedbackChimp is a simple process designed to keep your users informed and engaged.
For additional assistance or inquiries, please reach out to Customer Support.