Using a custom domain with your FeedbackChimp workspace enables you to present a fully branded experience to your users by providing access to feedback boards, changelogs, and more under your own website’s URL.
Custom domains allow you to enable an alternate URL for your FeedbackChimp instance. So instead of company.feedbackchimp.space, you can have ideas.company.com or something similar. This guide will walk you through configuring a custom domain in FeedbackChimp.
Note: Custom domains are only available on FeedbackChimp's Remove Branding addon.
Requirements
To set up a custom domain, you’ll need:
- Access to your domain hosting provider’s settings to configure DNS records.
- Administrator access in your FeedbackChimp workspace to enable and verify the custom domain.
Steps to Set Up Your Custom Domain
Follow these steps to add a custom domain to your FeedbackChimp workspace:
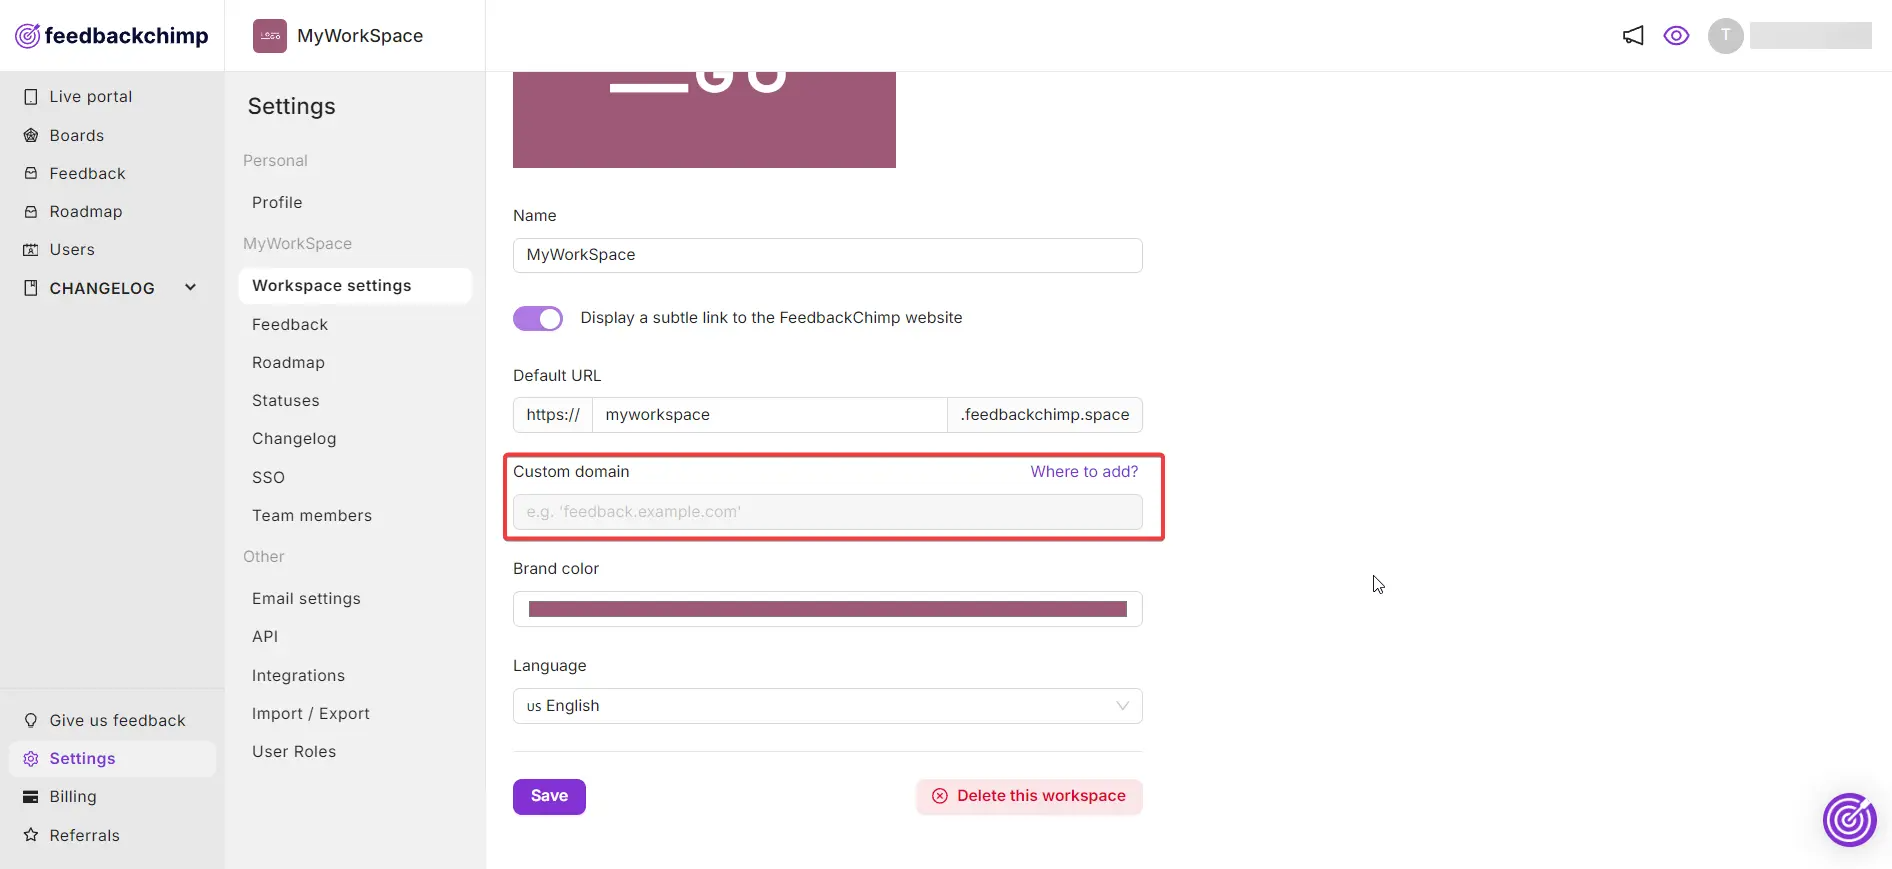
- In your FeedbackChimp dashboard, navigate to Settings > Workspace Settings.
- Scroll to the Custom Domain section and enter the domain or subdomain you’d like to use, such as
feedback.yourdomain.com.

Once you are done, click on the Save button. The next step involves updating your DNS settings so that your custom domain is up and running.
- Go to your domain hosting provider and add a CNAME record pointing your custom domain to
cname.feedbackchimp.space- Record Type: CNAME
- Host: The custom subdomain you chose (e.g.,
feedback.yourdomain.com). - Points to:
cname.feedbackchimp.space - TTL: Set as recommended by your hosting provider, typically automatic or the shortest available.
- Once you’ve configured the CNAME record, return to FeedbackChimp’s Custom Domain settings and click Verify. FeedbackChimp will check if your custom domain is correctly pointed, which may take a few minutes.
- After successful verification, your custom domain will be activated. Users will now be able to access your FeedbackChimp workspace under your branded URL.
Note: Make sure you point to "cname.feedbackchimp.space" exactly. Not yourcompany.feedbackchimp.space
Here are some instructions for setting CNAME records in various popular DNS services:
- CloudFlare (Instructions)
- GoDaddy (Instructions)
- Google Domains (Instructions)
- Namecheap (Instructions)
- Netlify (Instructions)
For additional assistance or inquiries, please reach out to Customer Support
