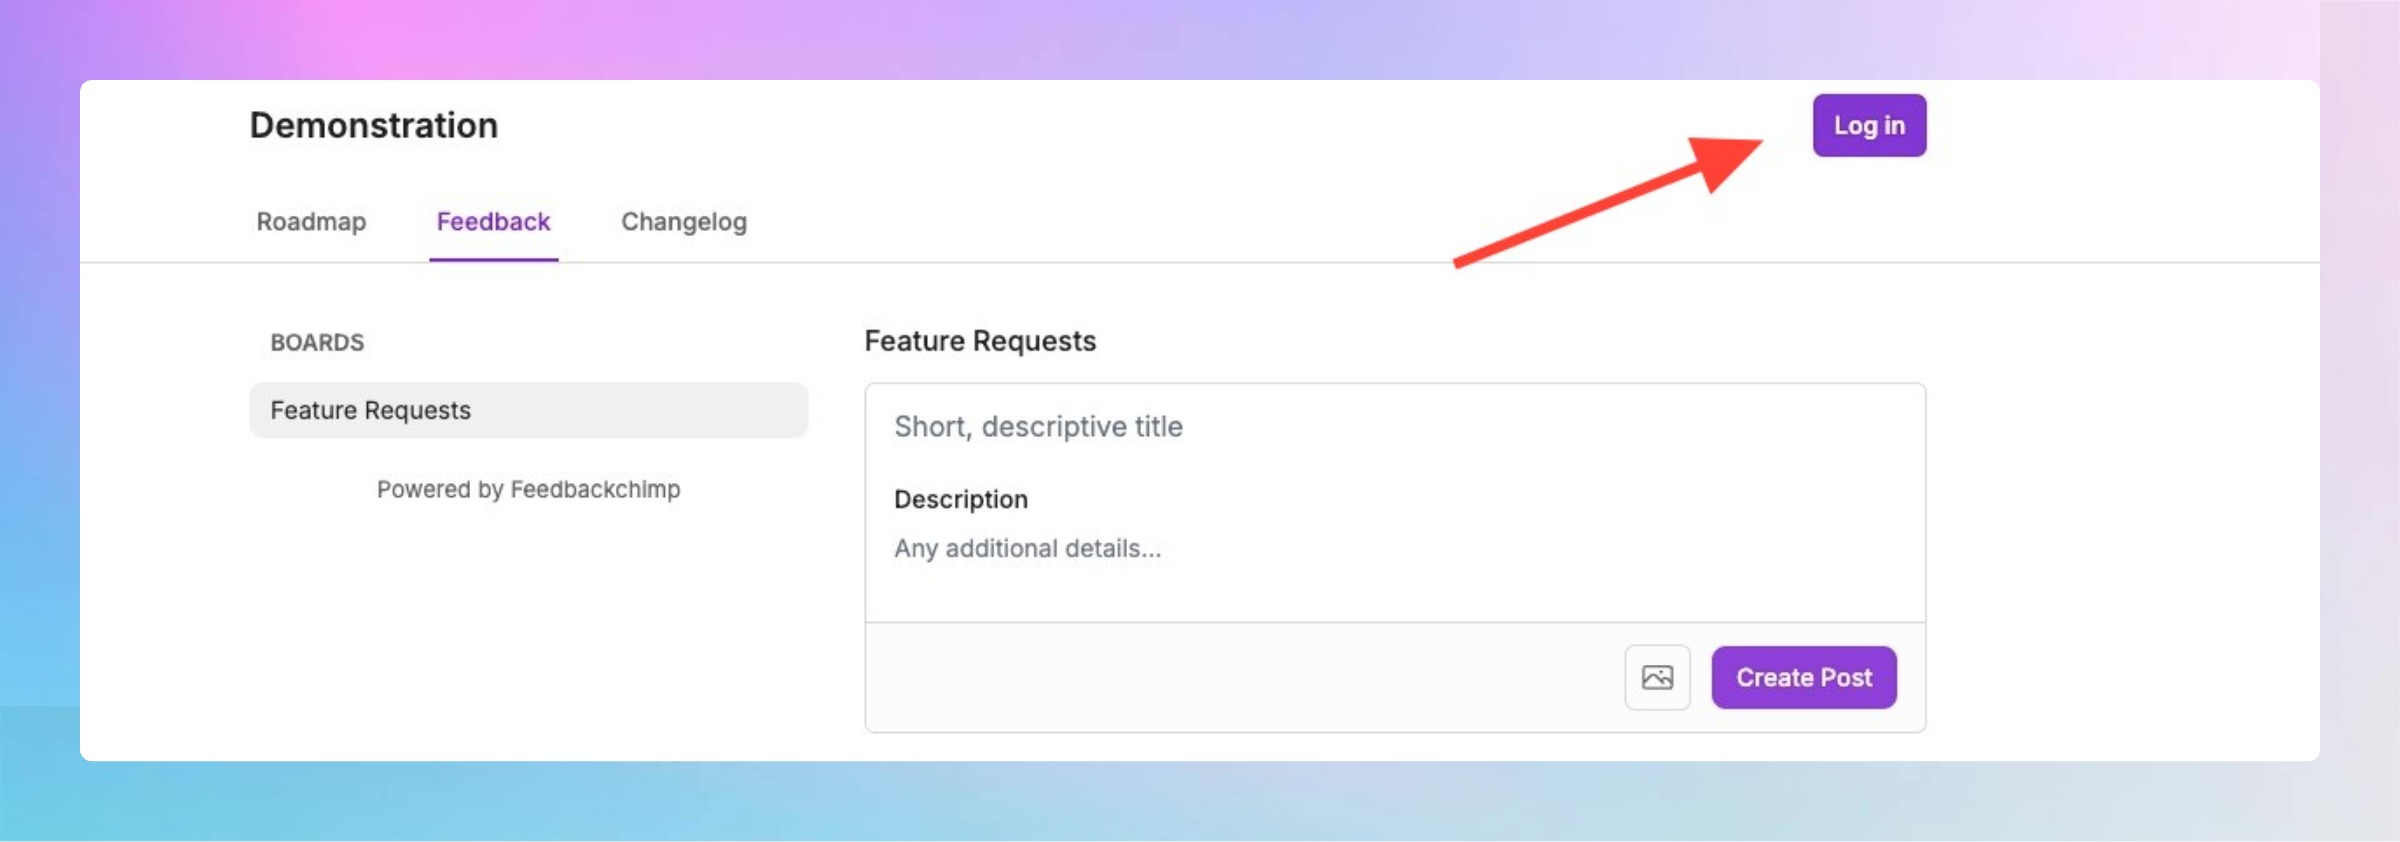
FeedbackChimp offers a Single Sign-On (SSO) feature that simplifies the user authentication process. With SSO enabled, users won't need to log into Feedbackchimp separately; they can simply click and leave feedback directly.
Note: Single Sign-On (SSO) is an exclusive feature that is only available with the Remove Branding addon.
What is Single Sign-On (SSO)?
Single Sign-On (SSO) is an authentication process that allows users to access multiple applications with one set of credentials. By implementing SSO in FeedbackChimp, users can enjoy a seamless login experience, reducing the need to remember multiple usernames and passwords.

Setting Up Single Sign-On (SSO)
To provide a seamless feedback experience, Feedbackchimp enables you to set up an SSO redirect. This allows users to authenticate on your site before being redirected back to FeedbackChimp, ensuring feedback is directly tied to authenticated users for better context.

⚠️ Prerequisites
- Your application must have user accounts.
- Your server must be configured to generate single sign-on tokens.
How to Enable SSO in FeedbackChimp
To set up SSO for your FeedbackChimp account, follow these steps:
Step 1: Create a Login Redirect Page on Your Website
Set up a dedicated login or SSO page on your website (e.g., https://yourdomain.com/sso/feedbackchimp). This page will handle user authentication.
Step 2: Add a Login Form (if needed)
If the user isn't already logged in, provide a form on this page to allow them to sign in. If they are already logged in, this step can be skipped.
Step 3: Generate a Single Sign-On (SSO) Token
Once the user is authenticated, your server needs to generate an SSO token. This token is used to authenticate the user in FeedbackChimp.
To implement SSO, you will need to write custom code to handle the authentication process and token generation. If you're not comfortable with this, please share this guide with a technical team member who can assist.
Step 4: Parse Query Parameters
Feedbackchimp will send users to your login page with redirect query parameters. Redirect specifies where the user should be sent after logging in
Step 5: Redirect Users Back to Feedbackchimp
After generating the SSO token, redirect the user back to Feedbackchimp using the URL
https://yourorg.feedbackchimp.space/sso/verify?jwt=payload&return_to=https://yourorg.feedbackchimp.space/roadmap. Ensure that you include the SSO Token, and redirect parameters in the URL.
Step 6: Test and Deploy
Enter the URL of your redirect page in the FeedbackChimp by:
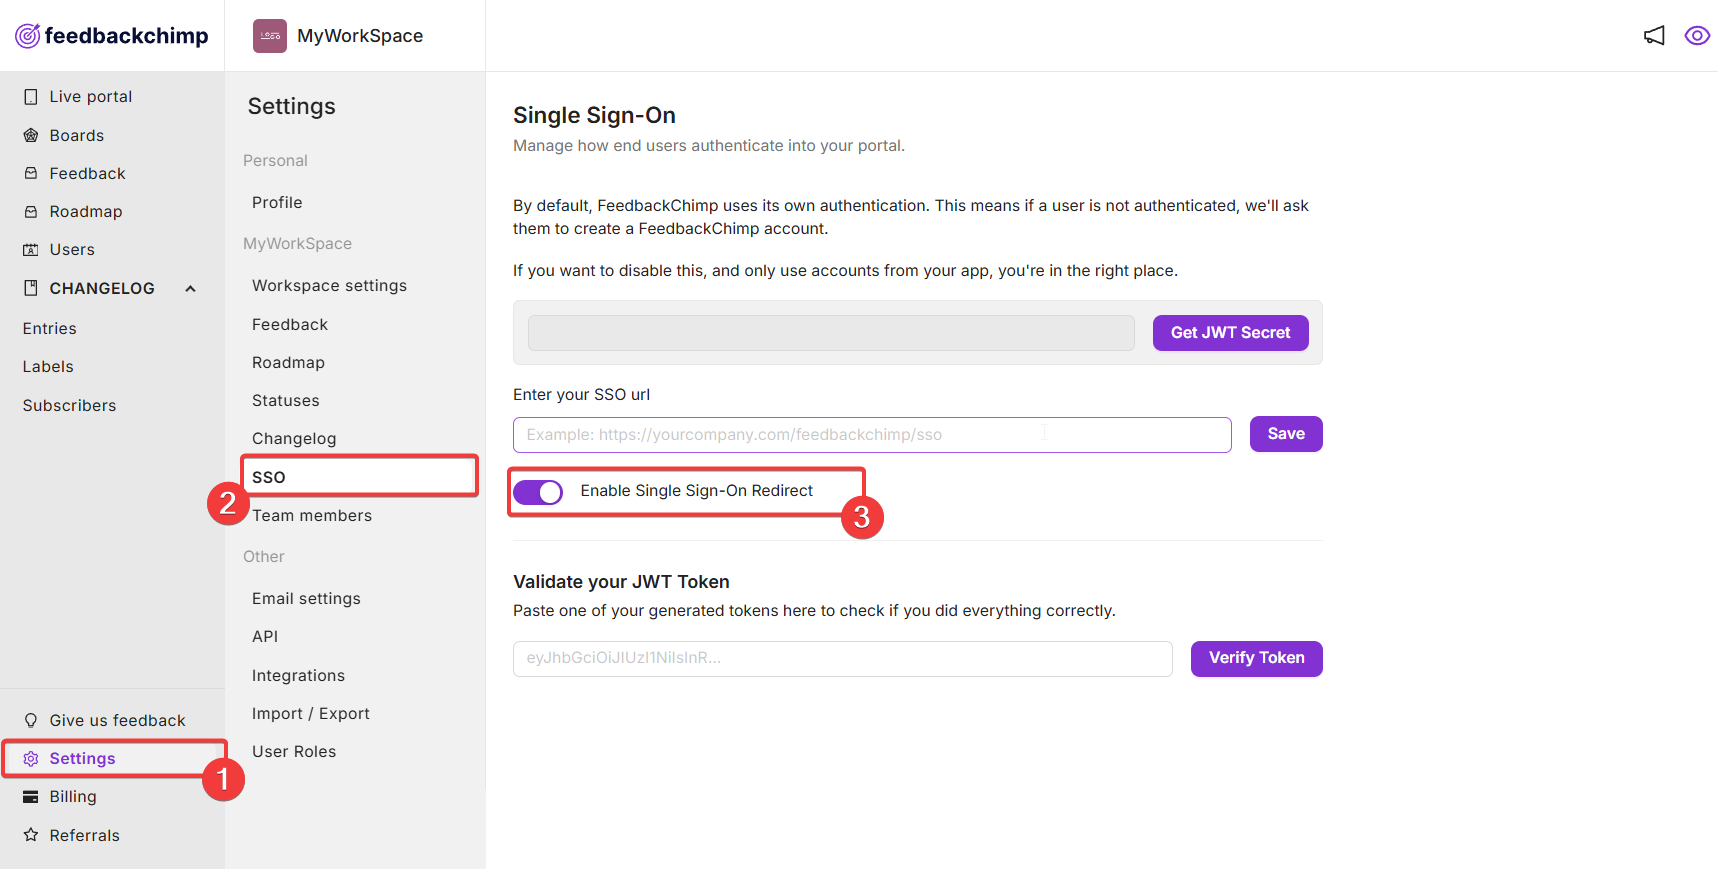
- Log in to your FeedbackChimp account.
- Click on the Settings option in the menu.
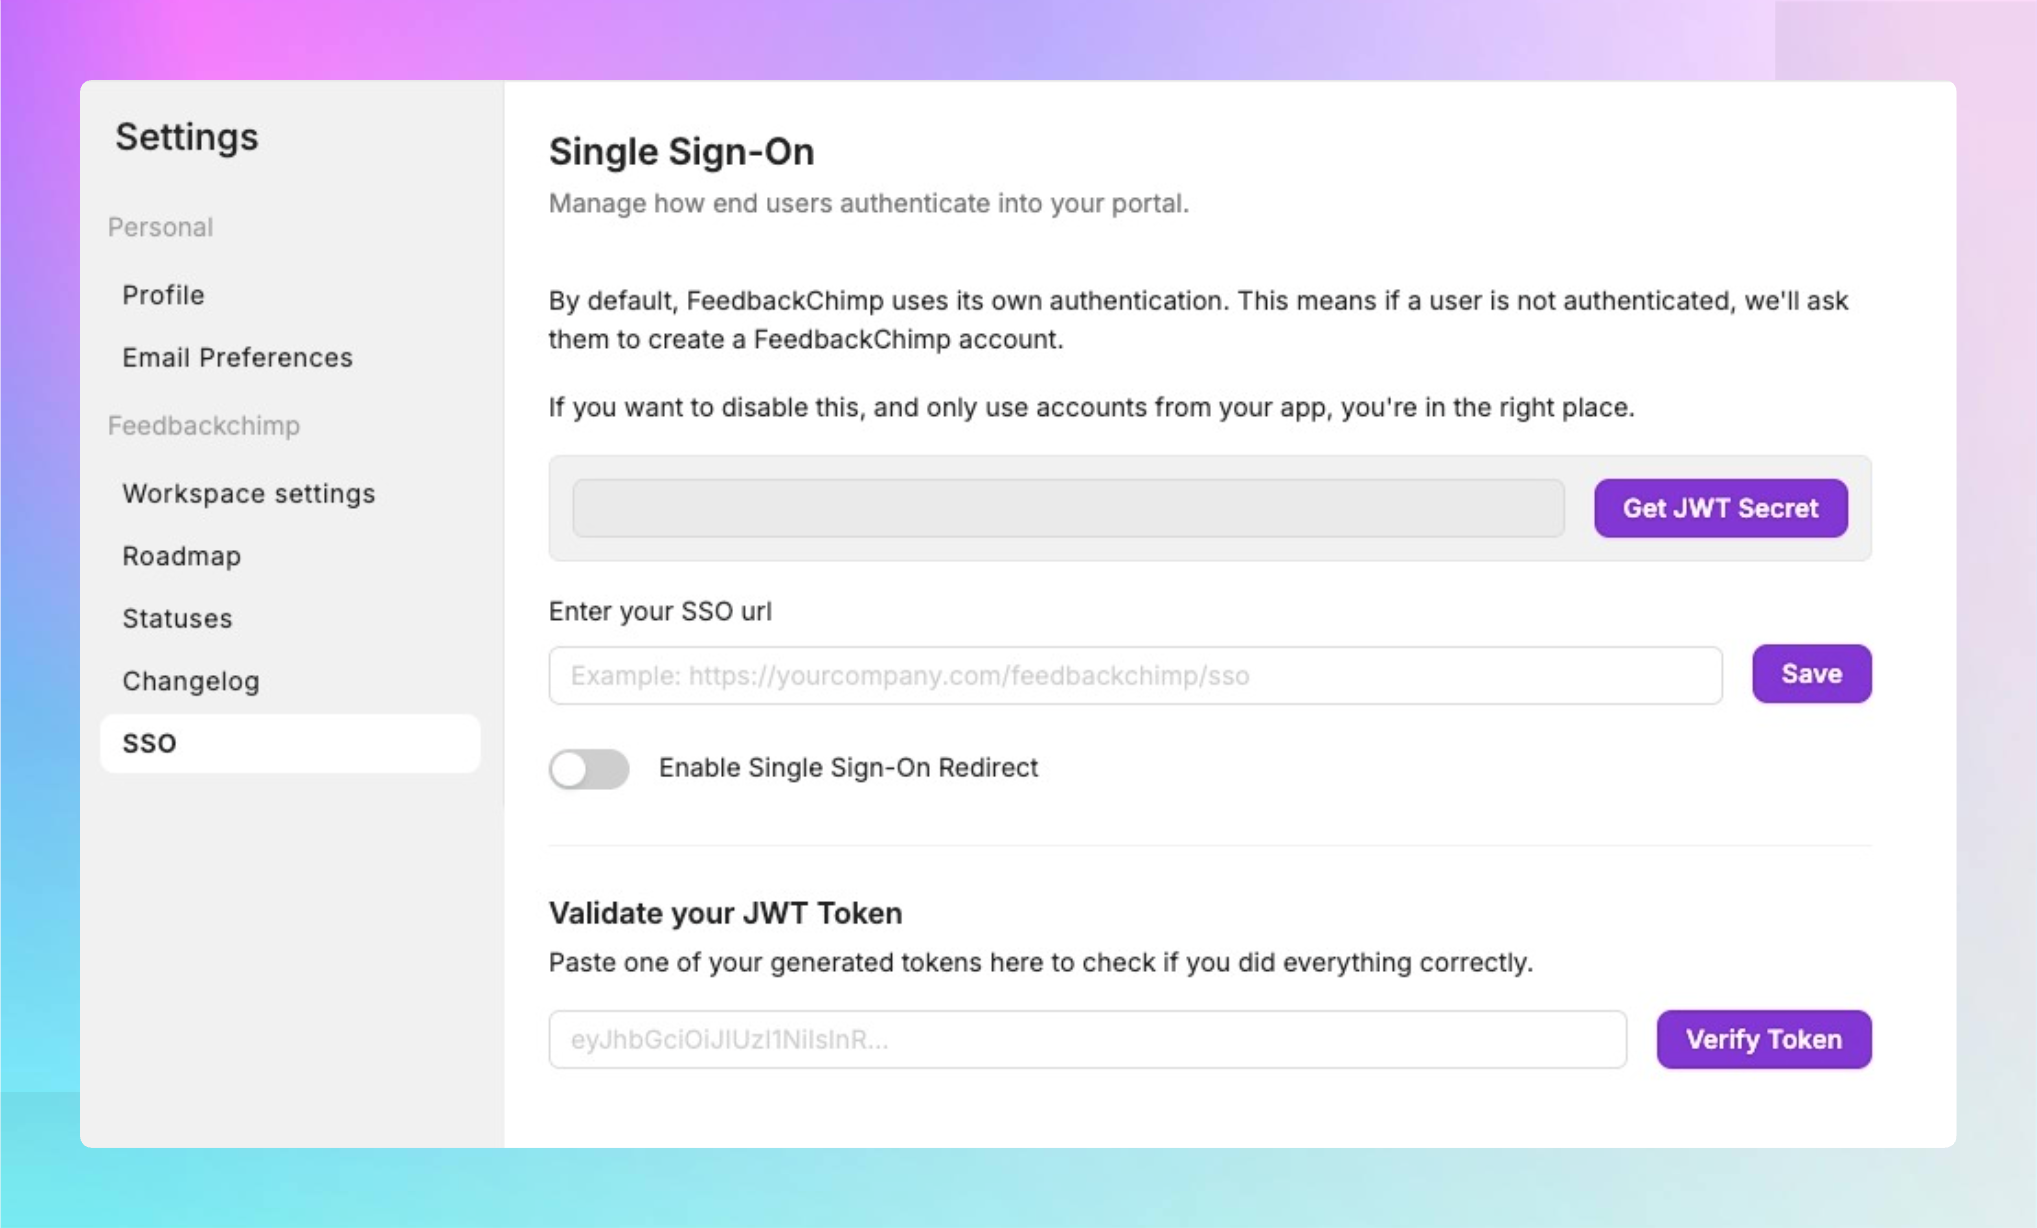
- Find and click on the Single Sign-On (SSO) section.
- Enter the SSO link the input field as shown below.
- Toggle the 'Enable Single Sign-On Redirect' option to turn it on and then save your changes.

Summary of Authentication Flow
- User Initiates Login: A user clicks on the "Login with YourCompany" button on your Feedbackchimp board.
- Redirection: Feedbackchimp redirects them to your custom login page with a return_to parameter.Example:
https://yourwebsite.com/sso/feedbackchimp?return_to=https://yourorg.feedbackchimp.space/roadmap - User Authentication: Your system authenticates the user and generates a JWT token.
- Return to Feedbackchimp: The user is redirected back to Feedbackchimp with the JWT and return_to URL.Example:
https://yourorg.feedbackchimp.space/sso/verify?jwt=payload&return_to=https://yourorg.feedbackchimp.space/roadmap - Completion: Feedbackchimp logs the user in and returns them to the original page where they started the process.
Best Practices for Implementing SSO
- Choose a Trusted Identity Provider: Ensure you are using a reliable identity provider that meets your security and compliance requirements.
- Test the SSO Integration: After setting up SSO, test the integration thoroughly to ensure a smooth login experience for users.
By implementing SSO, you can simplify the login process for your users while maintaining robust security standards.
For additional assistance or inquiries, please reach out to Customer Support.
